Dinner Rolls
What Makes Dinner Rolls Special
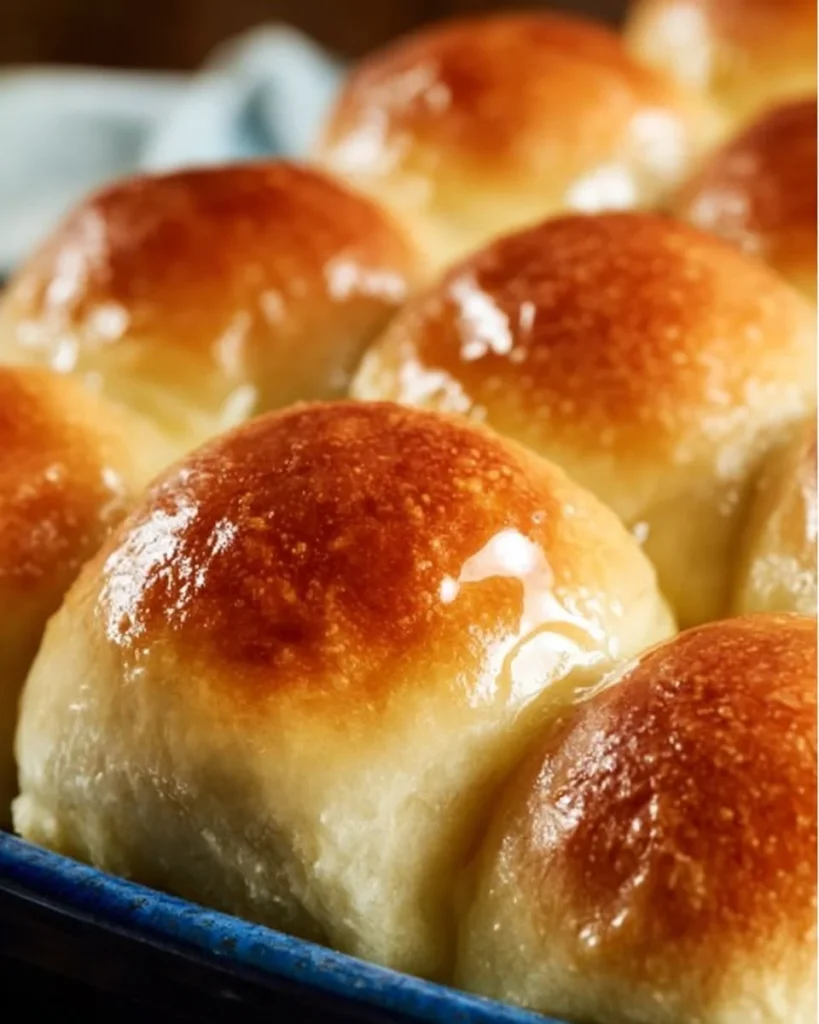
Dinner Rolls are small, soft breads that brighten any meal. They arrive warm and golden, with a tender crumb and a slightly sweet crust. The aroma of fresh yeast and butter fills the kitchen. The texture is pillowy inside and lightly chewy outside. People love them because they feel homemade and comforting. They pair with soups, roasts, and salads. They also soak up gravy and butter in the best way.
These easy Dinner Rolls are an invitation to slow evenings and family tables. The recipe below follows simple steps so anyone can bake homemade Dinner Rolls with confidence. It uses pantry staples and a gentle rise for consistent results. If you like quick bread wins for weeknights, check our list of healthy weeknight dinners for great pairings. 🍞
Dinner rolls trace back to simple hearth breads. Over time, cooks refined them into soft, individual buns for formal meals. Their mild flavor makes them a favorite across cuisines. They are perfect when you want warm bread that won’t steal the show but will elevate the plate.
Why This Recipe is Perfect
- Quick and easy: Ready with minimal active time.
- Pantry-friendly: Uses common pantry staples.
- Budget-friendly: No expensive ingredients.
- Beginner-friendly: Clear steps suitable for first-time bakers.
- Family-approved: Soft texture that kids and adults enjoy.
- Reliable rise: Uses classic yeast techniques for consistent loft.
This version balances speed with flavor. The dough needs one main rise, then a short proof after shaping. That gives a tender crumb and a fine, even structure. The melted butter in the dough creates a soft crust. This recipe is often easier than many online methods that require long chilling or complicated folds. It’s a simple Dinner Rolls recipe that delivers bakery-style results at home.
How to Make Dinner Rolls
This section explains the logic behind each stage so you can master how to make Dinner Rolls.
- Activate the yeast: Warm water wakes the yeast. Sugar feeds it. Wait until it foams. This confirms the yeast is alive.
- Mix fats and salt: Butter adds tenderness and flavor. Salt controls yeast speed and boosts taste.
- Add flour gradually: You avoid a dry or dense dough by slowly adding flour until soft.
- Knead: Kneading develops gluten. Gluten traps gas from yeast and gives structure. Knead until smooth and elastic.
- First rise (bulk fermentation): Let the dough double. This builds flavor and airy texture.
- Shape and secondary rise: Small balls make even rolls. A short second rise makes them light and soft.
- Bake: High heat gives a golden top and well-cooked interior.
Tip: Use a warm but not hot place for rising. Aim for water around 105–110°F (40–43°C). If your kitchen is cold, a warmed oven (turned on for 1 minute, then off) works well.
For a soft finish, brush the tops with melted butter as soon as they come out of the oven or use an egg wash before baking for shine. If you want a savory crust, sprinkle coarse sea salt or poppy seeds before baking.
For an alternative savory roll inspiration, try our take on cabbage rolls to complement a hearty dinner.
Ingredients
- 2 teaspoons active dry yeast
- 1 cup warm water (105–110°F / 40–43°C)
- 1/4 cup granulated sugar
- 1/4 cup unsalted butter, melted
- 1 teaspoon salt
- 3 to 4 cups all-purpose flour
- 1 egg (optional, for wash)
How to choose high-quality ingredients:
- Use fresh yeast or active dry yeast that is within its expiration date. Old yeast gives weak rise.
- Choose unbleached all-purpose flour for reliable gluten strength.
- Use real unsalted butter for flavor. Salted butter will change the salt ratio.
- Use filtered or tap water free of strong chlorine taste.
Substitutions:
- Vegan: Replace butter with vegan margarine or coconut oil and skip the egg wash or use a plant-based milk for brushing.
- Gluten-free: Use a gluten-free all-purpose blend designed for yeast baking and add a binding agent like xanthan gum if your blend lacks it.
- Lower sugar: Substitute sugar with coconut sugar or a granulated sweetener, keeping in mind slight flavor changes.
Step-by-Step Directions
-
Activate the yeast
- Visual cue: Mixture should foam and look bubbly within 5 minutes.
- Smell: Slight yeasty, bready aroma.
- Mistakes to avoid: Water that is too hot will kill the yeast. If no foam appears after 10 minutes, discard and start with fresh yeast.
-
Mix sugar, melted butter, and salt into the yeast mixture
- Visual cue: Liquid becomes slightly cloudy and glossy.
- Smell: Buttery, sweet scent develops.
- Mistakes to avoid: Adding salt directly on top of dry yeast can inhibit activity; mix salt into liquids.
-
Gradually add 3 cups of flour, stirring until a soft dough forms
- Visual cue: Dough pulls away from the bowl and clumps on the spoon.
- Texture: Soft, slightly sticky but manageable.
- Mistakes to avoid: Adding all flour at once can make a dry, heavy dough.
-
Knead dough on a floured surface for 5–7 minutes until smooth and elastic
- Visual cue: Dough becomes smooth and slightly springy.
- Sound: Light creak when stretching slightly.
- Mistakes to avoid: Under-kneading gives dense rolls; over-kneading by machine can make tough texture.
-
Place dough in a greased bowl, cover, and let rise until doubled (about 1 hour)
- Visual cue: Dough volume roughly doubles.
- Smell: Rich, fermented aroma.
- Mistakes to avoid: Letting dough overproof will collapse its structure.
-
Punch down and divide into 12–16 small balls
- Visual cue: Surface smooth after shaping.
- Texture: Rolls should feel slightly taut.
- Mistakes to avoid: Shaping too loosely gives flat tops.
-
Place balls in a greased baking dish, cover, and let rise again for 30 minutes
- Visual cue: Balls puff and nearly touch neighbors.
- Mistakes to avoid: Skipping the second rise results in tight crumb.
-
Preheat oven to 375°F (190°C)
- Make sure oven is fully preheated before baking.
-
Optional: Brush tops with beaten egg for shine
- Visual cue: Shiny, deep-golden crust after baking.
-
Bake 15–20 minutes or until golden brown
- Visual cue: Tops are golden and firm. Bottom should sound hollow when tapped.
- Smell: Warm, bready butter aroma.
- Mistakes to avoid: Opening oven early can deflate the rolls. Use a light touch.
If you want a richer version, brush with melted butter immediately after baking for a soft, glossy finish. For savory twists, add garlic butter after baking.
For a fun twist on rolls in a sandwich style, check our recipe for keto philly cheesesteak rolls.
How to Serve Dinner Rolls
- Classic dinner pairing: Serve warm with butter alongside roasted chicken, mashed potatoes, and green beans.
- Soup companion: Plate with a bowl of tomato soup or creamy potato soup. Rolls soak up broth beautifully.
- Slider station: Slice rolls and fill with roasted turkey, cranberry sauce, and greens for mini sandwiches.
- Holiday spread: Arrange on a basket lined with a clean cloth, brush tops with herb butter, and garnish with chopped parsley for a festive look.
Drink pairings: Serve with a light white wine, pear cider, or chilled iced tea. For kids, warm milk or apple juice pairs well.
Plating tip: Warm rolls briefly (30 seconds in microwave wrapped in a damp towel) before serving. Place in a basket lined with a napkin to keep them soft.
Storage and Reheating
Refrigerator:
- Store rolls in an airtight container for up to 3 days.
- For best texture, bring to room temperature or reheat before serving.
Freezer:
- Freeze cooled rolls in a zip-top bag for up to 3 months.
- To thaw, move to the refrigerator overnight or bake from frozen at 325°F (160°C) for 10–12 minutes.
Reheating:
- Oven: Preheat to 350°F (175°C). Wrap rolls in foil and warm 10–12 minutes for soft texture.
- Microwave: Wrap in a damp paper towel and heat 20–30 seconds. This is fast but can make crust soft.
- To refresh crust crispness: Unwrap and place in a 375°F (190°C) oven for 3–5 minutes after microwaving.
Pro Tips
- Measure flour by spooning it into the cup and leveling, or weigh if possible. Too much flour makes rolls dense.
- Use a thermometer for yeast water (105–110°F). It takes the guesswork out of activation.
- For softer rolls, add one extra tablespoon of melted butter.
- Avoid adding too much flour during kneading. Slight stickiness is okay.
- Rotate the pan halfway through baking for even browning.
- For a glossy top, brush with egg wash; for a softer top, brush with melted butter after baking.
- Flavor boosters: Fold in 1 teaspoon garlic powder or 1 tablespoon finely chopped herbs into the dough.
Variations
- Spicy version: Add 1 teaspoon crushed red pepper flakes and a tablespoon of smoked paprika to the dough. Serve with chipotle butter.
- Healthy version: Replace half the all-purpose flour with whole wheat and add a tablespoon of honey for moisture.
- Vegan option: Use plant-based butter and plant milk for brushing. Omit egg wash.
- Deluxe/gourmet: Stuff each ball with a cube of herbed butter or shredded cheese before shaping for gooey centers.
Frequently Asked Questions (FAQ)
Q: Can I prep dough ahead of time?
A: Yes. After kneading, place dough in an oiled bowl, cover, and refrigerate for up to 24 hours. The cold slow rise develops flavor. Bring to room temperature and finish shaping before the second rise.
Q: My rolls are dense. Why?
A: Common causes are too much flour, under-kneading, or weak yeast. Check your flour measurements and ensure the dough rises until doubled.
Q: Can I use instant yeast instead of active dry yeast?
A: Yes. Use about 1 3/4 teaspoons instant yeast. Mix with dry ingredients and reduce initial wait time since instant yeast does not require proofing in water.
Q: How do I fix a sticky dough?
A: Lightly flour your hands and work surface. Let the dough rest 5–10 minutes; the flour will hydrate and become easier to handle.
Q: How long do Dinner Rolls take to bake at higher altitude?
A: At higher altitudes, reduce baking time slightly and monitor color. You may also need a touch more liquid and less flour. Watch texture rather than clock time.
Q: Can I make these gluten-free?
A: Use a gluten-free flour blend designed for yeast breads and add a binder like xanthan gum if needed. Expect a different crumb but enjoyable results.
Q: How should I prevent the tops from burning?
A: If tops brown too fast, tent with foil for the last 5–8 minutes of baking.
Final Thoughts
These homemade Dinner Rolls are a simple, satisfying addition to any meal. They bring warmth, comfort, and flexible serving options. Try the basic recipe, then experiment with flavors and fillings. Save the recipe, share with friends, and enjoy the aroma of fresh bread at your next dinner. 🧈
Conclusion
If you want a softer, pillow-like roll, this method pairs well with tips from the Soft Dinner Rolls Recipe at Sally’s Baking Addiction for extra softness. For another trusted approach and flavor ideas, see The BEST Dinner Rolls at Mom On Timeout.
Dinner Rolls
Ingredients
Method
- In a bowl, combine warm water, yeast, and sugar. Wait until the mixture foams, indicating the yeast is alive.
- Add melted butter and salt to the yeast mixture and stir until combined.
- Gradually add flour, one cup at a time, stirring until a soft dough forms.
- Knead the dough on a floured surface for 5–7 minutes until smooth and elastic.
- Place the dough in a greased bowl, cover, and let it rise until doubled in size (about 1 hour).
- Punch down the dough and divide it into 12–16 small balls.
- Place balls in a greased baking dish, cover, and let rise again for about 30 minutes.
- Preheat the oven to 375°F (190°C).
- Optional: Brush tops with beaten egg for shine.
- Bake in the preheated oven for 15–20 minutes or until golden brown.