
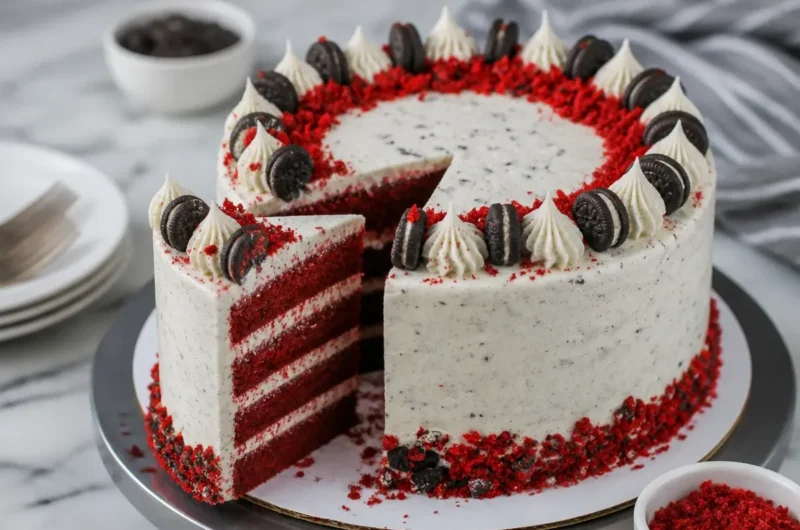
Red Velvet Oreo Cake: Easy Recipe Made from Scratch
When you’re in the mood for a scrumptious dessert, this Red Velvet Oreo Cake delivers both the nostalgia of a classic treat and a modern twist. The vibrant color and unique flavor combination make it a standout addition to any gathering or celebration. It’s rich, creamy, and incredibly easy to prepare, making it the ultimate crowd-pleaser. If you’re looking for something extra special, this cake is unmatched. Plus, the addition of crushed Oreos adds a delightful crunch that you’ll absolutely love! You may also find 4 Ingredient Mint Oreo Bark Christmas Recipe useful.
Why This Recipe Works
- Quick prep and bake time
- Easy to follow, making it beginner-friendly
- The combination of red velvet and Oreos is irresistible
- Perfect for special occasions and gatherings
- The rich cream cheese frosting perfectly balances the flavors
This recipe for Red Velvet Oreo Cake is straightforward, using simple ingredients to create a rich dessert that’s sure to impress everyone at the table. You may also find Best Homemade Red Velvet Brownies useful.
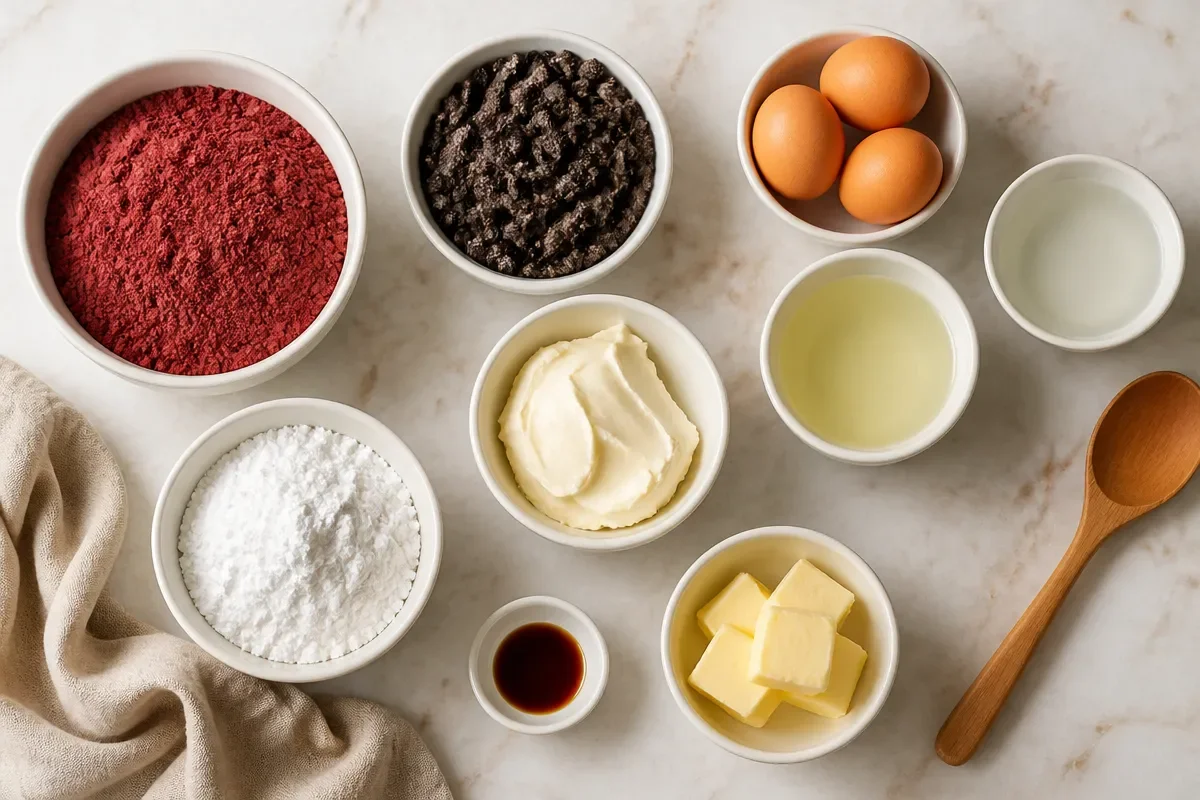
- 1 box red velvet cake mix
- 3 large eggs
- 1 cup water
- 1/2 cup vegetable oil
- 1 package Oreos, crushed
- 1 cup cream cheese, softened
- 1/2 cup butter, softened
- 2 cups powdered sugar
- 1 teaspoon vanilla extract
When choosing your ingredients, opt for high-quality butter and cream cheese for the best flavor. Look for a red velvet cake mix that uses natural coloring for a more vibrant hue. If you have dietary preferences, consider using a gluten-free cake mix or plant-based butter to make it dairy-free.
Step-by-Step Directions
-
Preheat Your Oven: Start by preheating your oven to 350°F (175°C). Make sure to grease and flour two 9-inch round cake pans to prevent sticking.
-
Mix the Batter: In a large mixing bowl, combine the red velvet cake mix, eggs, water, and vegetable oil. Use a whisk or electric mixer to blend until everything is well incorporated. Be careful not to overmix, which can make the cake dense.
-
Add Oreos: Gently fold in the crushed Oreos into the batter, ensuring they’re evenly distributed. The bits of Oreos add a delightful crunch to each bite.
-
Bake the Cakes: Pour the batter equally into the prepared cake pans. Bake for 25-30 minutes, or until a toothpick inserted comes out clean. Keep an eye on them to avoid overbaking, which can dry out the cake.
-
Cool the Cakes: Once baked, let the cakes cool in the pans for about 10 minutes. After that, transfer them to wire racks to cool completely. This helps prevent sogginess.
-
Make the Frosting: In a mixing bowl, beat together the softened cream cheese and butter until smooth and creamy. Gradually add the powdered sugar, followed by the vanilla extract, mixing until everything is well combined.
-
Assemble the Cake: After the cakes are completely cool, place one layer on a serving plate. Spread a generous amount of Oreo cream cheese buttercream between the layers. Top with the second cake layer.
-
Frost the Cake: Use the remaining frosting to cover the top and sides of the cake. For a finishing touch, sprinkle additional crushed Oreos on top for a visually appealing presentation.
-
Slice and Serve: Once decorated, slice the cake and serve. Pair with a scoop of vanilla ice cream or a dollop of whipped cream for an extra treat.
Serving Suggestions
This Red Velvet Oreo Cake is perfect for birthdays, holiday gatherings, or any celebration! Serve it with a scoop of vanilla ice cream, or pair it with a rich coffee for a delightful contrast. For a festive look, garnish with fresh berries or additional Oreo pieces on the plate.
Storage and Reheating
To store, keep the cake in an airtight container in the refrigerator for up to 4 days. Alternatively, you can freeze slices for up to 2 months; make sure to wrap them well. Thaw in the fridge overnight before enjoying again. For the best texture, reheat individual slices in the microwave for 10-15 seconds.
Pro Tips
- Flavor Technique: For an extra depth of flavor, try adding a teaspoon of cocoa powder to the cake batter.
- Texture Trick: To keep the frosting smooth, ensure your cream cheese and butter are at room temperature before mixing.
- Common Mistake: Avoid overmixing the batter, which can lead to a tough cake.
- Ingredient Upgrade: Using homemade cream cheese frosting will enhance the richness of the cake.
- Time-Saving Technique: Opt for store-bought frosting if you’re short on time, but still crush Oreos to mix in for that homemade touch.
Variations
Spicy Version
Add a pinch of cayenne pepper to the cake batter to give it a warm kick. The heat perfectly complements the sweetness of the chocolate flavor.
Lighter and Healthier Version
Replace the vegetable oil with unsweetened applesauce to lower the fat content and add moisture. Use a sugar alternative for the frosting to make it lighter yet still satisfying.
Vegetarian or Vegan Version
Substitute the eggs with flax eggs (1 tablespoon ground flaxseed mixed with 2.5 tablespoons water per egg) and use dairy-free cream cheese for the frosting to accommodate a vegan diet.
FAQ
Q: Can I make this cake ahead of time?
A: Yes! You can bake the cakes a day or two in advance. Just wrap them tightly in plastic wrap and store them in the refrigerator until you’re ready to frost.
Q: What if my cake is too dense?
A: If the cake comes out dense, it’s likely due to overmixing. Next time, mix just until combined and avoid beating longer than necessary.
Q: What’s the best substitution for red velvet cake mix?
A: You can make a homemade red velvet cake mix using flour, sugar, cocoa powder, baking powder, and food coloring if preferred.
Q: How long does this cake keep?
A: The cake will keep well in the fridge for about 4 days. If stored properly, it can also be frozen for up to 2 months.
Q: Can I adjust the batch size?
A: Absolutely! You can easily halve the recipe for a smaller cake or double it for a larger crowd. Adjust your baking times accordingly.
Q: Do I need to use crushed Oreos in the cake?
A: While they add flavor and texture, you can omit them if desired and enjoy a classic red velvet cake.
Conclusion
This Red Velvet Oreo Cake is not just a dessert; it’s a delightful experience that brings joy to any table. For those looking for an indulgent and creative twist, consider checking out this Red Velvet Oreo Cake Recipe with Oreo Cream Cheese Frosting or try a different approach with the Red Velvet Oreo Cake – Cookie Dough Diaries. Make this cake for your next occasion, and you’re bound to impress your guests!
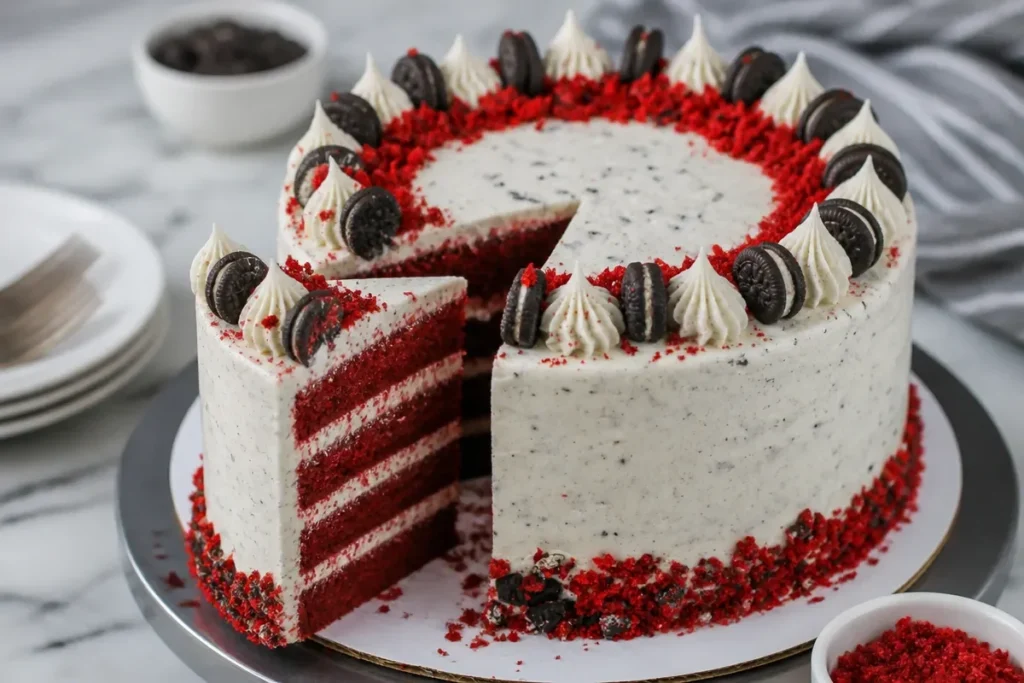
Red Velvet Oreo Cake
Ingredients
Method
- Preheat your oven to 350°F (175°C) and grease two 9-inch round cake pans.
- In a large mixing bowl, combine the red velvet cake mix, eggs, water, and vegetable oil. Mix until well incorporated, but do not overmix.
- Fold in the crushed Oreos gently into the batter.
- Pour the batter equally into the prepared cake pans and bake for 25-30 minutes, or until a toothpick inserted comes out clean.
- Let the cakes cool in the pans for about 10 minutes, then transfer to wire racks to cool completely.
- In a mixing bowl, beat together the softened cream cheese and butter until smooth. Gradually add powdered sugar and vanilla extract until well combined.
- Once cooled, place one cake layer on a serving plate and spread some frosting between the layers.
- Top with the second layer and frost the top and sides of the cake.
- Sprinkle additional crushed Oreos on top for decoration.
- Slice and serve, optionally pairing with vanilla ice cream or whipped cream.