Lemon Bars
What Makes Lemon Bars Special
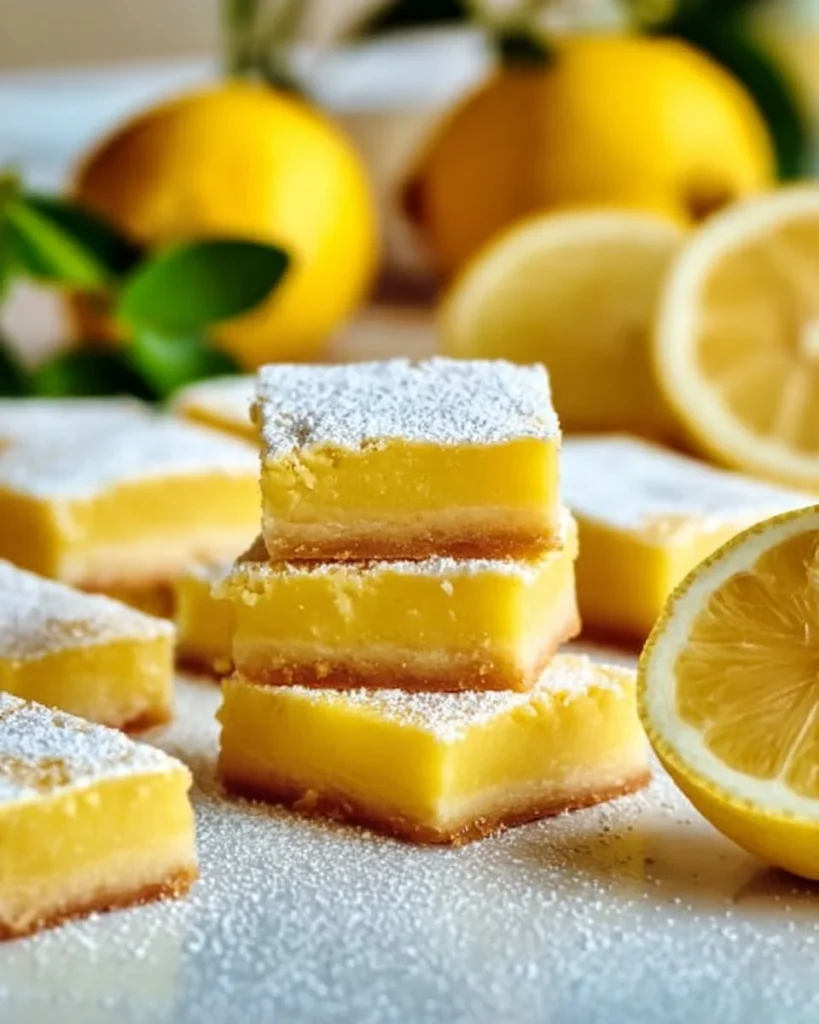
Lemon Bars are a bright, tangy dessert that balances a buttery crust with a silky, citrus filling. The first bite hits with a sharp lemon tang. Then you feel the smooth, custard-like texture melt on your tongue. The crust adds a tender, crumbly contrast. Together, they create a simple but irresistible treat. 🍋
This classic dessert likely evolved from European shortbread and custard tarts. Over time, home bakers in the U.S. refined the ratio of crust to filling into the bars we know today. The aroma of fresh lemon zest as it bakes is instantly uplifting. The powdered sugar dusting adds a soft sweetness and picture-perfect finish.
People love Lemon Bars for their perfect sweet-tart balance. They are easy to make and travel well. They suit picnics, potlucks, and tea time. Because they use simple ingredients, they feel both homey and gourmet. If you enjoy bright flavors, this easy Lemon Bars recipe will make you reach for seconds.
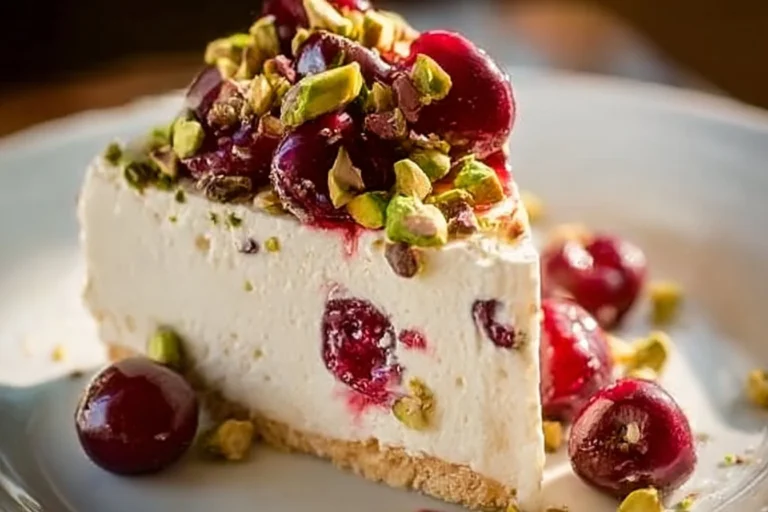
If you like pairing lemon desserts with savory mains, try a lemon-forward seafood dish like baked cod with coconut lemon cream sauce for a sunny meal combo.
Why This Recipe is Perfect
- Quick and easy: Ready in about 1 hour from start to finish.
- Pantry-friendly: Uses common ingredients most kitchens already have.
- Budget-friendly: Inexpensive staples deliver big flavor.
- Beginner-friendly: Clear steps and forgiving technique.
- Family-approved: Loved by kids and adults alike.
- Balanced texture: A firm-but-tender crust and silky lemon filling.
- Reliable results: No fancy equipment required; measured steps reduce mistakes.
This version beats many online recipes because it focuses on balance. The crust is not too thick. The filling sets without cracking. We explain why each step matters. The method yields consistent results even for first-time bakers. This is the best Lemon Bars recipe if you want dependable texture and a true lemon punch without excess sugar.
How to Make Lemon Bars
The process follows two simple stages: make and bake the crust, then pour and bake the lemon filling. Baking the crust first gives it structure. That prevents sogginess when the filling is added. Whisking eggs and sugar until glossy helps create a smooth, custardy filling. Adding baking powder gives a slight lift and prevents a rubbery set.
Work in an assembly line. Soften butter but keep it cool enough to handle. Use freshly squeezed lemon juice and fresh zest for bright flavor. Strain the filling only if you want an ultra-smooth surface, but it’s usually not necessary.
Tip: Pre-baking (blind baking) the crust until it’s light golden is the key to a crisp bottom. Overbaking the filling makes it dry. Remove Lemon Bars when the center still jiggles slightly; it will firm as it cools.
For another sweet bar idea, compare texture and richness with Cinnamon Roll Bliss Bars, which use a different balance of fat and sugar.
Ingredients
- 1 cup unsalted butter, softened
- 1/2 cup granulated sugar (for crust)
- 2 cups all-purpose flour
- 1/4 teaspoon salt
- 4 large eggs
- 1 cup granulated sugar (for filling)
- 2/3 cup fresh lemon juice (about 3–4 lemons)
- 1 teaspoon lemon zest
- 1/4 teaspoon baking powder
- Powdered sugar for dusting
How to choose high-quality ingredients:
- Use fresh lemons for juice and zest. Bottled lemon juice lacks bright aromatics.
- Choose real butter, not margarine, for better flavor and texture.
- Use fresh eggs at room temperature; they incorporate better and give a silkier filling.
Substitutions for dietary needs:
- Dairy-free: Replace butter with a firm vegan butter stick for similar texture.
- Gluten-free: Use a 1:1 gluten-free flour blend designed for baking. Expect a slightly different crumb.
- Lower-sugar: Reduce filling sugar to 3/4 cup and increase lemon zest for more brightness, but monitor set (it may be slightly more tangy).
For variety and comparison, explore a softer swirled bar inspired by Cinnamon Roll Bliss Bars to see how different crusts change the final bite.
Step-by-Step Directions
-
Preheat and prepare the pan.
- Preheat the oven to 350°F (175°C). Grease a 9×13 inch baking dish. Line with foil or parchment if you want easier removal.
- Visual cue: Oven at temperature and pan evenly greased.
- Mistake to avoid: Using a hot pan—always place batter into a room-temperature baking dish.
-
Make the crust.
- In a mixing bowl, cream together the softened butter and 1/2 cup sugar until light and fluffy. Gradually add 2 cups flour and salt and mix until combined.
- Visual cue: Mixture should form a crumb that holds when pressed. Color: pale yellow.
- Smell: A mild buttery scent.
- Mistake: Overworking the dough yields tough crust. Stop when flour is just incorporated.
-
Press and bake the crust.
- Press the mixture into the bottom of the prepared baking dish to form an even layer. Use the bottom of a measuring cup to smooth it. Bake for 20 minutes or until lightly golden.
- Visual cue: Edges turn pale golden; surface looks set.
- Sound: No sizzling; a gentle oven hum.
- Mistake: If crust is too thin, the bars will be overly custardy. Keep an even thickness.
-
Prepare the filling.
- In another bowl, whisk together the eggs, 1 cup sugar, lemon juice, lemon zest, and baking powder until smooth and slightly frothy.
- Visual cue: Mixture becomes glossy and pale.
- Smell: Bright lemon aroma.
- Mistake: Adding cold eggs straight from the fridge can chill the filling and affect bake time. Use room-temperature eggs.
-
Pour and bake.
- Pour the lemon filling over the pre-baked crust. Bake for an additional 20–25 minutes until set. The center should jiggle slightly when you jiggle the pan.
- Visual cue: Filling puffs lightly and the edges set. Color: pale lemon.
- Mistake: Overbaking causes cracking and a dry texture. Underbaking leaves it runny. Aim for that slight jiggle.
-
Cool and finish.
- Allow to cool completely, then dust with powdered sugar before serving. Refrigerate for firmer slices.
- Visual cue: Surface is matte and set. Smell: sweet lemon.
- Mistake: Cutting too soon yields messy slices. Chill at least two hours for clean squares.
How to Serve Lemon Bars
- Picnic platter: Stack squares in a parchment-lined tin for easy transport. Pair with fresh berries for color.
- Tea time: Serve on a small plate with simple shortbread cookies and a pot of Earl Grey.
- Brunch pairing: Offer with a citrusy salad and light yogurt parfaits.
- Cocktail or mocktail pairing: Match with a gin and tonic, prosecco, or a sparkling lemonade. For a non-alcoholic option, serve with iced chamomile and honey.
Plating tips: Dust with powdered sugar just before serving. Garnish with a thin lemon twist or edible flowers for a refined look. Cut bars with a warm, sharp knife for cleaner edges.
Storage and Reheating
Refrigerator: Store in an airtight container for up to 4–5 days. Keep layers separated with parchment paper to avoid sticking.
Freezer: Wrap individual squares in plastic wrap and place in a freezer-safe bag for up to 3 months. Thaw in the fridge overnight.
Reheating best practice: For soft, just-baked texture, bring bars to room temperature, then warm briefly in a 300°F (150°C) oven for 5–8 minutes. Avoid microwaving long-term frozen bars; it can make the filling rubbery. A quick 10–15 second microwave burst can soften chilled bars for immediate serving.
Pro Tips
- Use fresh lemon zest and juice for the brightest flavor. Bottled juice tastes flat.
- Room-temperature eggs mix into the filling more evenly.
- Press the crust firmly and evenly to avoid cracks. Use a flat-bottomed measuring cup.
- Don’t overbake the filling. Pull it when the center still jiggles. It will finish setting as it cools.
- For clean slices, chill the bars completely and use a heated knife wiped between cuts.
- Adjust sugar slightly if your lemons are very tart—taste before adding all juice.
- Add a pinch of salt in the filling to enhance the lemon flavor.
Variations
- Spicy twist: Add 1/4 teaspoon ground ginger or a pinch of cayenne to the filling for a warm heat that amplifies lemon.
- Lower-sugar version: Use 3/4 cup sugar in the filling and add an extra 1/2 teaspoon lemon zest to boost flavor without more sugar.
- Vegan lemon bars: Replace butter with vegan butter and use a flax "egg" mixture (1 tablespoon ground flax + 3 tablespoons water per egg) or a commercial egg replacer. Bake slightly longer and cool thoroughly.
- Deluxe lemon bars: Fold a thin layer of raspberry jam into the filling before baking or top with a lemon glaze (powdered sugar + lemon juice) for an elegant finish.
Frequently Asked Questions (FAQ)
How can I prep Lemon Bars ahead of time?
You can bake and cool Lemon Bars, then store them in the refrigerator for up to 4 days. For longer prep, bake, freeze individually wrapped bars, and thaw in the fridge overnight. They hold their texture well when chilled.
Why did my filling not set?
If the filling is runny, it likely needs more bake time or your oven runs cool. Make sure your oven is calibrated. Bake until the center jiggles slightly and then cool completely. Overmixing with too much air can also affect set—mix just until combined.
Can I use bottled lemon juice?
Fresh lemon juice provides the best aroma and bright flavor. Bottled juice works in a pinch but may yield a less vibrant taste. If using bottled juice, increase zest for more fragrance.
How do I cut clean squares?
Chill the bars completely. Use a sharp knife warmed in hot water, wipe dry between cuts, and press straight down instead of sawing.
Can I make these gluten-free or dairy-free?
Yes. Use a 1:1 gluten-free flour blend to substitute for all-purpose flour. Replace butter with a vegan butter stick for dairy-free bars. Expect slight changes in texture.
How long do Lemon Bars last at room temperature?
Do not leave at room temperature for more than a day in warm climates. For best safety and texture, refrigerate after a few hours.
Final Thoughts
Lemon Bars are a timeless dessert. They bring bright citrus, buttery crust, and simple pleasure to any table. This simple Lemon Bars recipe is quick, reliable, and adaptable. Save it, share it, and make it your go-to for sunny desserts. If you try a variation, snap a photo and share it with friends — these bars are made for sharing.
Conclusion
For a shortbread-style crust and classic texture, compare this method with Lemon Bars with Shortbread Crust – Sally’s Baking Addiction, and for another popular take on the classic, see Lemon Bars – Preppy Kitchen.
Lemon Bars
Ingredients
Method
- Preheat the oven to 350°F (175°C). Grease a 9×13 inch baking dish. Line with foil or parchment for easy removal.
- In a mixing bowl, cream together the softened butter and 1/2 cup sugar until light and fluffy.
- Gradually add 2 cups flour and salt and mix until combined.
- Press the mixture into the bottom of the prepared dish to form an even layer.
- Bake for 20 minutes or until lightly golden.
- In another bowl, whisk together the eggs, 1 cup sugar, lemon juice, lemon zest, and baking powder until smooth and slightly frothy.
- Pour the lemon filling over the pre-baked crust.
- Bake for an additional 20–25 minutes until set, the center should jiggle slightly.
- Allow to cool completely, then dust with powdered sugar before serving.