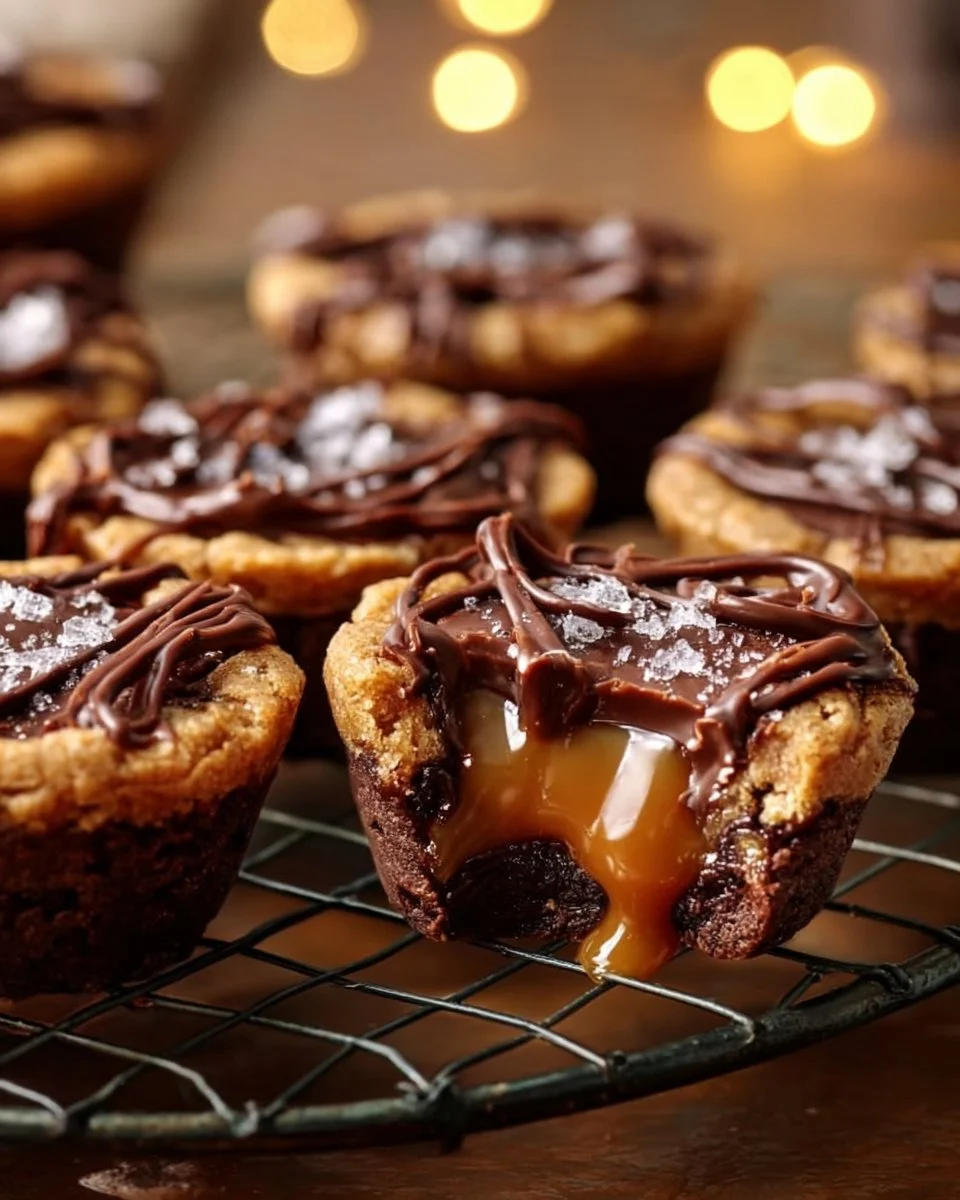
Caramel Chocolate Cookie Cups are small, sweet treats that bring together creamy caramel, rich chocolate, and buttery sugar cookie in a neat little cup. The idea likely grew out of classic cookie cups and filled chocolates that bakers make for parties. These cups have a simple, modern history: home bakers and pastry shops began pressing cookie dough into mini tins, baking lightly, then filling with soft caramel and topping with chocolate. The scent while baking is immediate and warm — butter and sugar from the cookie dough, a toasty caramel sweetness, and the deep cocoa of melting chocolate. When you bite one, you first feel the slight crisp of the golden cookie rim, then the soft, gooey caramel, and finally the smooth chocolate that melts on the tongue. Textures range from crisp edges to chewy centers and a silky topping, making every bite satisfying.
This recipe is a classic favorite because it balances familiar flavors with a pleasing form. They look elegant yet are easy to make. Kids love the gooey centers; adults adore the salty finish when you add sea salt flakes. These little cups shine at holidays, potlucks, and as a thoughtful homemade gift. For more cookie base ideas, try this best double chocolate guide for inspiration. The steps are simple and forgiving, so beginners can succeed quickly. Read on and the recipe will show you step by step how to make them at home with little fuss and big taste. Gather a few simple tools.
Why make this recipe
- Fast and time-saving: This recipe uses ready-to-use sugar cookie dough and caramel bits, so you cut prep time and still get a homemade result. You can have warm cookie cups in under an hour.
- Pantry-staple friendly: The ingredients are common pantry items—cookie dough, chocolate chips, caramel. You likely have many of them on hand or can buy them easily.
- Beginner friendly: The method uses simple steps—press, bake, fill, and drizzle—so cooks with little experience can succeed on the first try.
- Crowd-pleaser: The mix of sweet caramel, bitter-sweet chocolate, and a touch of sea salt appeals to many tastes and works well for parties and gifts.
- Cost-effective: Making many small cups from bulk chocolate and caramel bits costs less than buying fancy truffles or store-bought filled cookies.
- Better than other versions: This recipe balances gooey caramel with lightly baked cookie walls so the cup holds filling without becoming hard. The process keeps the caramel soft and the chocolate shiny by controlling heat and timing.
How to make Caramel Chocolate Cookie Cups
This recipe works in clear steps with simple cooking logic. First, you form the cookie cups by pressing dough into a mini muffin tin. The goal here is to create a thin but sturdy cookie shell that will hold hot caramel without breaking. Baking briefly sets the dough, forming a crisp rim and a slightly soft base. Overbaking will make the shell too hard and dry; underbaking will let the cup collapse when filled.
Next, you melt caramel bits with a small amount of water over low heat. The science is gentle heat: caramel pieces need only enough heat and moisture to soften and become smooth. Water helps melt and thin the caramel slightly so it fills the cups, but too much water will make the caramel runny. Stirring keeps the caramel uniform and prevents burning.
Filling: you spoon or pipe warm caramel into the cooled cookie cups. The cups should be warm but not hot; a hot cup can make the caramel bubble and overflow, while a cold cup can cause caramel to set too quickly.
Finally, you melt chocolate and drizzle it over the caramel. Melted chocolate stabilizes the top layer and adds a firm but snappy contrast. The trick is to keep the chocolate warm enough to drizzle smoothly but not so hot that it melts the caramel below. A short rest at room temperature helps the chocolate set and the textures meld.
Ingredients
- 280 g ready-to-use sugar cookie dough
- 310 g caramel bits
- 280 g semi-sweet or dark chocolate chips
- 2 tablespoons water
- Sprinkle sea salt flakes
Choose the best quality items by focusing on flavor and texture. For cookie dough, use a brand you trust or homemade dough chilled and slightly firm so it is easy to press and holds shape. For caramel bits, pick soft caramel chips designed to melt; some caramels are hard candy and will not become smooth. For chocolate, good quality semi-sweet or dark chips with 50–60% cocoa give a clean chocolate flavor; cheap chocolate may separate when melted. Use flaky sea salt for a bright finishing touch.
Common substitutions:
- For dairy-free: use vegan cookie dough, dairy-free caramel bits, and dairy-free chocolate chips. Note textures change slightly but the method stays the same.
- For gluten-free: use gluten-free ready cookie dough or make a gluten-free dough that presses well.
- For nut allergies: avoid adding nuts and choose certified nut-free chocolate and caramel.
For more cookie-based dessert ideas that use filled or layered cookies, see this chocolate chip cheesecake cookies recipe for inspiration.
Directions
-
Preheat the oven to 350°F (175°C). Grease a mini muffin tin.
- Visual cues: The oven should be fully warmed to 350°F before baking. Grease each cup with a thin coat of butter or nonstick spray so the cookie cups lift out easily. You should see a light sheen in the cups from the grease.
-
Press tablespoon-sized portions of sugar cookie dough into the bottom and up the sides of each muffin cup.
- How to do it: Pinch off dough the size of a tablespoon and roll to smooth. Press into the tin so the dough makes an even layer up the sides and a flat base. Use your thumb or the back of a small spoon to shape the walls.
- Visual cues: Each cup should look like a small cup with a roughly even thickness. The dough will look smooth and slightly glossy from the grease. If the dough sticks to fingers, chill it for 5–10 minutes.
-
Bake for 8–10 minutes until lightly golden.
- How to tell: After 8 minutes, check the edges. The rim should turn a light golden brown, and the center will still be slightly pale and soft. The top will look set, not wet. Remove at the first hint of golden color to keep the inside tender.
- Sound/feel: The cups will feel slightly firm to the touch at the rim but still soft in the center. They will make a dull thud if tapped.
-
In a small saucepan, combine caramel bits and water over low heat, stirring until smooth.
- Technique: Add 2 tablespoons water to the pan, then add the caramel bits. Use low heat and constant stirring. The caramel will melt and loosen into a shiny ribbon. If you see dark spots or the caramel clump, lower the heat; scraping the pan helps even heating.
- Visual cues: The caramel should turn glossy and fluid. Avoid boiling; a slow shimmer is what you want.
-
Fill each cookie cup with the caramel mixture.
- How to fill: Spoon or pipe the warm caramel into each cup, filling to just below the rim. Leave a small gap so the chocolate can sit on top.
- Visual cues: The caramel should sit smooth and glossy in the cup. If it spreads thin or runs, the caramel is too loose—cool for a minute. If it sets hard immediately, the caramel may be too cool—warm gently.
-
Melt the chocolate chips in a microwave or double boiler and drizzle over the caramel cups.
- How to melt: Microwave in short bursts, stirring in between, or use a double boiler so the chocolate melts gently. The chocolate should be smooth and shiny, not grainy.
- Drizzling tips: Use a spoon or a small piping bag to add chocolate in a thin layer or decorative pattern.
- Visual cues: The chocolate should form a thin, even coat over the caramel and lose its shine as it sets into a matte finish.
-
Sprinkle with sea salt flakes.
- Timing: Add salt when the chocolate is still slightly soft so the flakes adhere. A light sprinkle over each cup adds a bright pop.
- Visual cues: The salt should sit on top and contrast with the chocolate for a professional look.
-
Let cool before serving.
- Cooling method: Let cups cool in the tin for 10–15 minutes, then transfer to a rack to finish cooling. For a firmer set, chill in the fridge for 15–20 minutes.
- How to know they are ready: The chocolate will be set and the caramel slightly holding but still soft. Cups should lift cleanly out of the tin without breaking.
How to serve Caramel Chocolate Cookie Cups
- Party platter: Arrange the cups on a white platter in a tight circle. Add fresh berries and mint sprigs in the center for color contrast.
- Coffee pairing: Serve with strong coffee or espresso. The bitter coffee balances the sweet caramel and chocolate. Offer small cups of black coffee and milk.
- Dessert plate: Place two cups on a small dessert plate with a drizzle of warm chocolate sauce and a dusting of cocoa powder. Add a thin cookie or tuile to the side for height.
- Gift box: Pack cooled cups in a small box with parchment layers. Add a note and a small bag of extra sea salt for the recipient.
How to store Caramel Chocolate Cookie Cups
- Short-term (fridge): Store in an airtight container in a single layer in the refrigerator for up to 5 days. Use parchment between layers to avoid sticking. Chilled cups will be firmer; bring to room temperature for 15–20 minutes before serving for softer caramel.
- Long-term (freezer): Freeze in a single layer on a baking sheet until firm (about 1 hour). Transfer to a freezer-safe container with parchment between layers. Freeze up to 2 months. Thaw overnight in the fridge, then bring to room temperature before serving.
- Best way to reheat: For softer caramel, reheat briefly in a warm oven (275°F / 135°C) for 5–7 minutes. Do not microwave for long periods; use 5–8 second bursts to avoid overheating and splitting the chocolate. Overheating makes the caramel runny and chocolate oily.
Tips to make Caramel Chocolate Cookie Cups
- Use chilled, slightly firm dough so the cups keep shape when pressed into the tin.
- Do not overbake: remove at first light golden color to keep the center tender.
- Melt caramel and chocolate slowly over low heat to avoid burning or seizing.
- If caramel is too thick, add a teaspoon of cream or warm water to loosen; add sparingly.
- Test one cup first to check bake time and filling behavior before doing a full batch.
- For clean edges, use a small offset spatula to smooth dough into the cups.
- Press dough evenly; thin weak spots can burn or break when filled.
Variation
- The Deluxe Version: Add chopped toasted pecans to the caramel before filling. Top with a chocolate ganache instead of melted chips for an extra-rich finish.
- Make it Spicy: Stir 1/4 teaspoon ground cayenne or a pinch of chili into the melted caramel for a warm kick that contrasts with the chocolate.
- The Healthy Version: Use a lower-sugar cookie dough, dark chocolate with high cocoa content, and a small amount of homemade date caramel for lower refined sugar; textures will be denser but still satisfying.
- Nutty Twist: Press a small piece of almond or hazelnut into the caramel before the chocolate sets for crunch.
- Mint Chocolate: Add a few drops of mint extract to the chocolate before drizzling for a fresh flavor.
FAQs
Q: Why is my caramel too thin or runny?
A: Thin caramel often means too much water or too high heat. Warm the caramel gently to evaporate a little moisture, or cool slightly before filling. Add a small amount of confectioners’ sugar or reduce liquid if needed.
Q: Why did the cookie cups crack or break when I removed them?
A: The cups may have been too thin or overbaked. Ensure you press an even thickness of dough and remove when the rims are only lightly golden. Let cups cool slightly before removing.
Q: Can I make these ahead of time?
A: Yes. Store finished cups in the fridge for up to 5 days or freeze for up to 2 months. Thaw in the fridge overnight and bring to room temperature before serving.
Q: Can I skip the sea salt?
A: Yes, but the sea salt adds a bright contrast that balances sweetness. Try a light sprinkle; a little goes a long way.
Q: My chocolate looks dull or grainy after melting. What went wrong?
A: Chocolate can seize if it meets water or if it overheats. Melt slowly over low heat or in short microwave bursts, and stir frequently. If it seizes, stirring in a small amount of warm cream can help smooth it.
Q: Can I use homemade caramel instead of caramel bits?
A: Yes. Homemade caramel can be richer. Cool it slightly so it is thick enough to fill without running, and be mindful that very hot caramel can break thin cookie cups.
Conclusion
These Caramel Chocolate Cookie Cups make a simple yet impressive dessert for every occasion. For another take on salted caramel-filled cookie cups from a well-tested blog, see a salted caramel filled cookie cups recipe at Pastry & Beyond. If you want a version with chocolate and caramel variations and step photos, check out the chocolate caramel cookie cups post at Noshing With The Nolands.

Caramel Chocolate Cookie Cups
Ingredients
Method
- Preheat the oven to 350°F (175°C) and grease a mini muffin tin.
- Press tablespoon-sized portions of sugar cookie dough into the bottom and up the sides of each muffin cup.
- Bake for 8-10 minutes until lightly golden.
- In a small saucepan, combine caramel bits and water over low heat, stirring until smooth.
- Fill each cookie cup with the caramel mixture until just below the rim.
- Melt the chocolate chips in a microwave or double boiler and drizzle over the caramel cups.
- Sprinkle with sea salt flakes while the chocolate is still soft.
- Let cool in the tin for 10-15 minutes, then transfer to a rack to finish cooling.